

Below is a typical step by step approach to repairing damaged brickwork. This example was one part of the total brickwork restoration of the rear elevation of a house in Dorking Surrey.
I don’t have a good before photo but take it from me, the previous builder (if that what he was) had made a horrendous job of things!
Enjoy our brief guide to a typical brickwork repair….
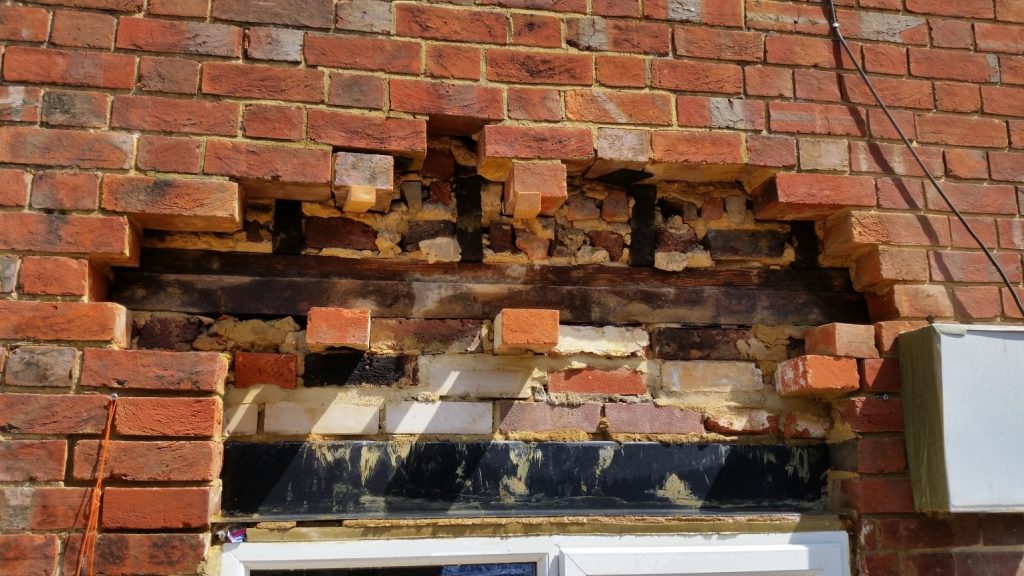
Here we have removed the previous builders very poor attempt at repair. All debris and dust is cleaned away. You can see the horizontal wall plate and floor joist ends on the inside, these were inspected and found to be perfectly sound. The steel lintel remained in place and once the brickwork was completed we also replaced the window.
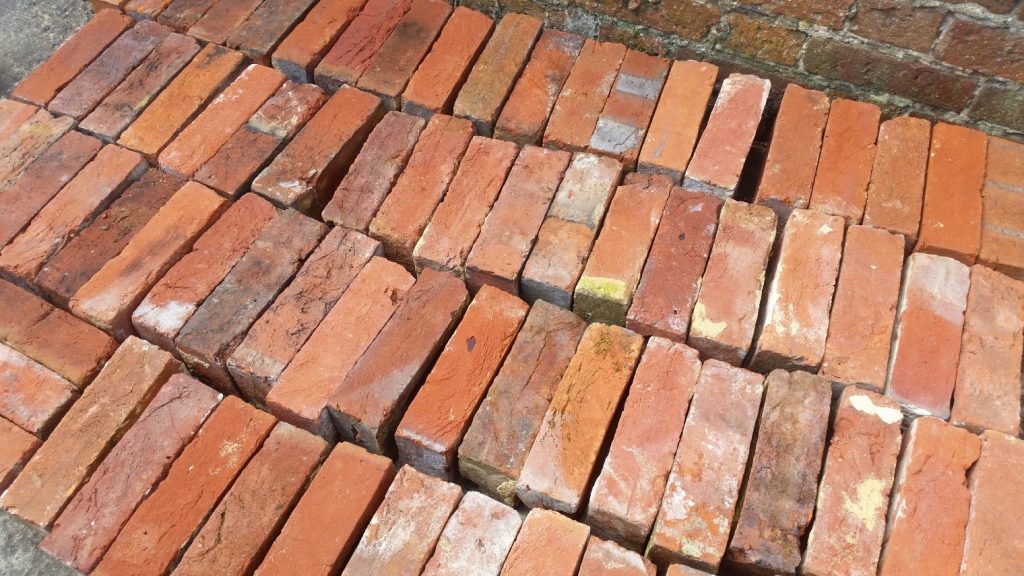
We sourced the reclaimed bricks above, they are typical of the Victorian period and show colour variation from coal fired clamps. These will be cleaned and sorted before use.
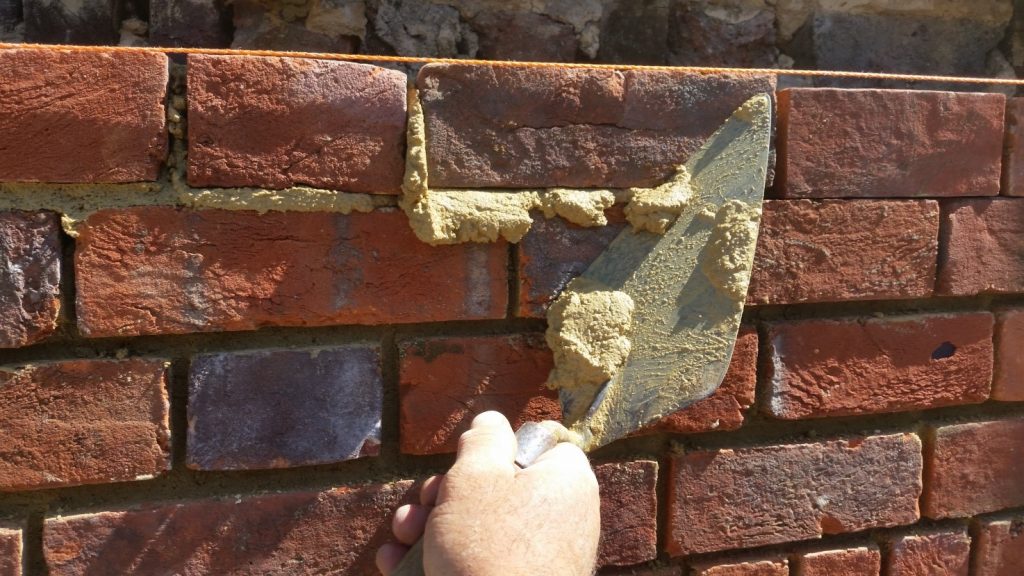
The bricks are laid to the correct brick bond in lime mortar, the top of each brick being kept in alignment by the use of a tight string line. You can see the bricks have now been cleaned and are free from staining and old mortar.

Things are going well, nearly done…
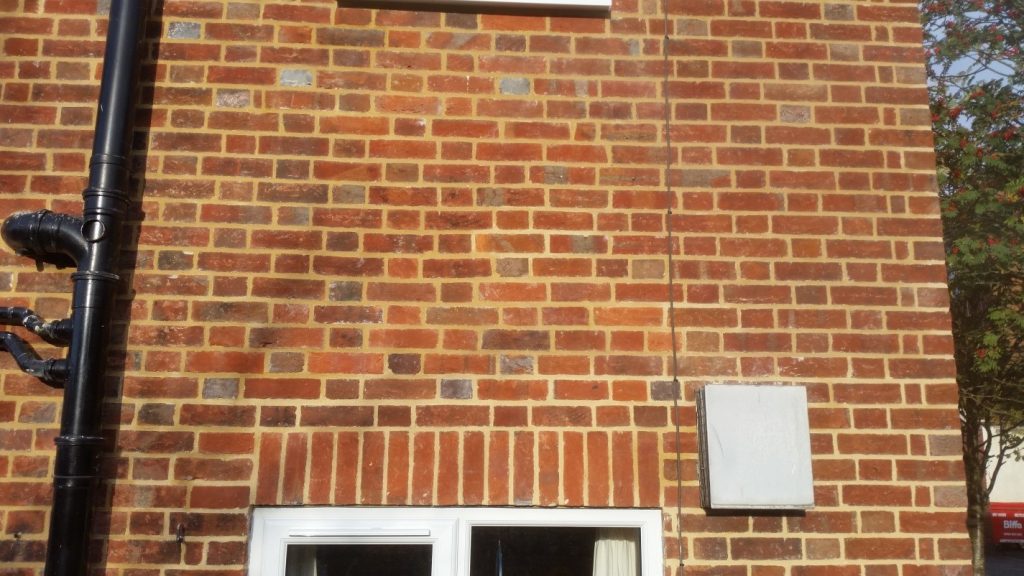
Ta da….Perfect…
The repair of brickwork may often be included alongside repointing work, click here for our brief guide to repointing, and further information on our use of lime can be found here.
If after reading this you would like to speak to us about brickwork or stone repairs to your property please do not hesitate to contact us here.